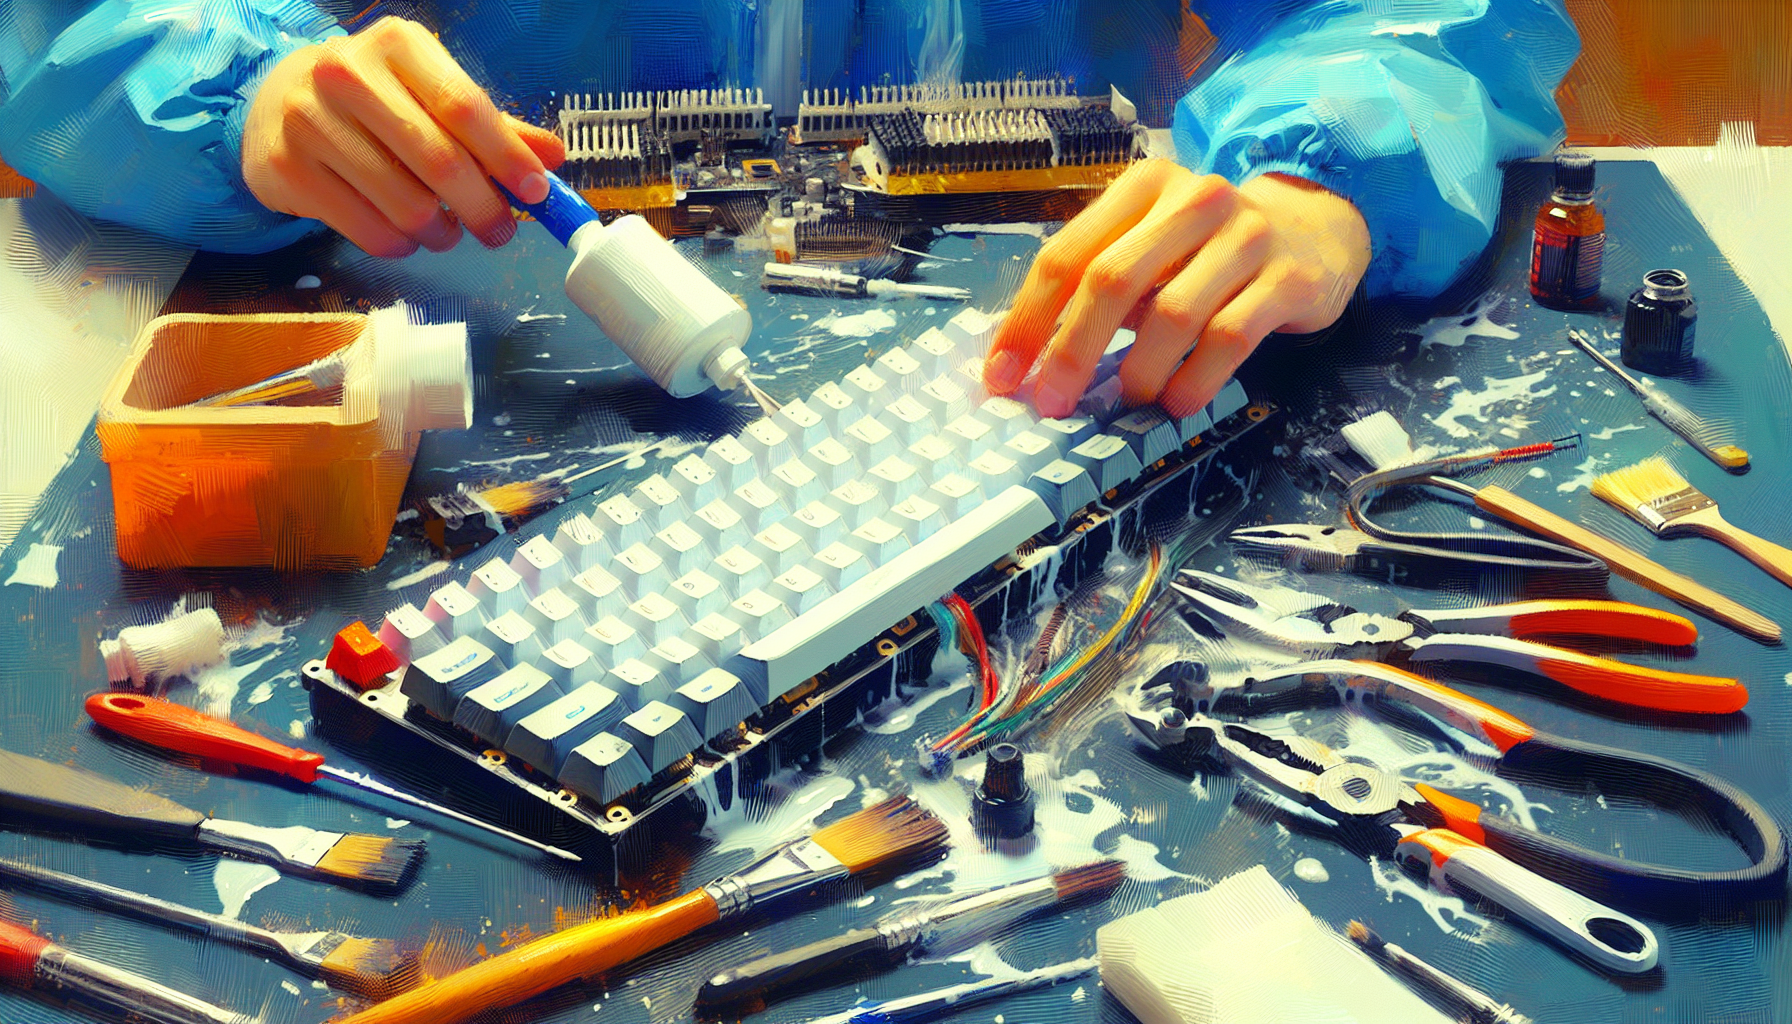
Preserve Your Precious: Learn How to Properly Clean and Maintain a Mechanical Keyboard
Cleaning a Mechanical Keyboard
You know how life can get a bit messy? Well, your mechanical keyboard isn’t any different. Keeping it squeaky clean not only keeps it looking sharp but also makes sure it works smoothly. Nobody wants a sticky ‘T’ key, right? Regular cleaning keeps dirty bits like dust, crumbs, and God-knows-what-else from messing with its mojo Meetion. Let’s chat about why it’s smart to clean it often and what you’ll need to get it looking spiffy.
Importance of Cleaning
Alright, here’s the scoop – a filthy keyboard can turn your typing experience into a real bummer. Dust bunnies and snack leftovers love to party between the keys, and over time, they’re gonna mess up those satisfying clicks you love. Toss some cleaning into your routine, and not only will your fingers thank you, but your keyboard will live to type another day Awekeys.
Tools for Cleaning
Here’s a quick list of what you’ll need to give your keyboard a bit of TLC:
-
Compressed Air: Those sneaky crumbs hiding between the keys? This stuff blows ’em right out. It’s like a mini hurricane for all the gunk trying to call your keyboard home.
-
Keycap Puller: Fancy tool alert! This little gadget lets you yank off the keycaps safely so you can really get in there and tidy up. It’s a must-have for that beneath-the-keys grime.
-
Soft Brush: Grab a brush that’s gentle, yet effective. You don’t want to scratch or scuff anything. Think of it as brushing away the keyboard’s bad hair day.
-
Microfiber Cloth: After all that de-crudding, wipe it down with a trusty microfiber cloth. Slightly damp works wonders for smudges and stains, leaving your keyboard sparkly clean without freaking it out.
And hey, do yourself a favor: keep your snack time and keyboard time separate Awekeys. Once you get into a groove with cleaning, your keyboard will stay nice and fresh, ready for whatever you throw at it—whether it’s a marathon gaming session or typing up that next big idea.
Routine Maintenance
Keeping your mechanical keyboard squeaky clean isn’t just for the neat freaks. It’s like giving your keys a spa day to make sure they work their magic smoothly and stick around longer. So, let’s get down to the nitty-gritty of tapping, wiping, and blasting some air in those tight spots.
Tapping and Wiping
Grab that keyboard and flip it like a pancake! Lightly tap it upside down to watch crumbs and mystery bits make their escape. If you eat at your desk like me, you might be shocked at what tumbles out. After that acrobatics session, take a soft, no-fuzz cloth and wipe over the keys and frame like you’re waxing a car. This simple routine keeps the dust bunnies at bay and your keys shiny.
Got stubborn gunk that’s sticking around like your pesky in-laws? Grab a soft toothbrush, the one you don’t use, and give it a gentle scrub. A dab of soapy water helps reach those nooks and crannies, just don’t drown your keyboard – we’re cleaning not doing the dishes! The folks over at PCWorld share this nugget of wisdom, and it works like a charm!
Compressed Air Use
When dust bunnies are playing hide and seek, it’s time to bring in the big guns – compressed air. It’s like a leaf blower for your keyboard! Aim those pressurized spurts between the keys, and watch the dirt do a vanishing act. This helps your taco crumbs stop messing with your key presses and doesn’t let the dust hinder your ninja typing skills, as Awekeys highlights.
Remember, hold the sprayer upright and keep those short fiery puffs flying. And yeah, do this outdoors or in a well-ventilated room unless you plan on breathing in what you’ve blown out.
Following these easy-peasy steps with a bit of tapping, wiping, and air blitz, your mechanical keyboard will thank you by staying in tip-top shape. Plus, the magic of smooth typing and a long-lasting keyboard life is all yours to enjoy. Need more geeky tips and tricks for your keyboard? Check out our deep dive into cleaning and maintaining a mechanical keyboard.
Deep Cleaning Process
Removing Keycaps
Alright, so you’ve got yourself a snazzy mechanical keyboard, and it’s time to give it some TLC that’ll keep it clacking like new. First thing’s first—those keycaps gotta come off. Over time, they turn into a cozy home for dirt, dust bunnies, and finger oils that can mess with your typing mojo and make your board look funky.
To pop these bad boys off, you’ll need a keycap puller. If you don’t have one, no sweat. A slender tool like a butter knife or flathead screwdriver can do the trick. Just slide your tool under the edge of a keycap and lift gently—remember, easy does it, so you don’t end up with a broken switch. Got them all off? Great, next stop, sparkle city.
Cleaning Solutions
Now that those keycaps are free and clear, it’s bath time. You wouldn’t believe the difference a little soak makes. Warm, soapy water is your best buddy here. Let those keycaps take a dip and give them a gentle scrub. This pretty much kicks dirt and oils goodbye, as PCWorld will tell you.
After their wash, rinse them off with clean water and let them chill out until they’re totally dry. No one wants a soggy keyboard, so patience pays off here. Dry keycaps are happy keycaps, free from moisture drama once they’re back on the board.
When you’re arm-wrestling that grime with your cleaning solution, make sure it’s gentle, like your grandma’s hugs. A soft brush or cloth does the job without scuffing up the keycaps’ looks or wearing off the letters.
By sticking to these steps, your mechanical keyboard will look fresh and type like a dream. Regular scrub-downs mean it’ll stay sharp and satisfying to use for a good long while. Happy cleaning!
Preventative Care Tips
Proper Storage
So, you’ve got yourself a fabulous mechanical keyboard, and you want it to last? Of course, you do! Well, keeping it tucked away safely when you’re not pounding away on it is a good start. You’re aiming to dodge pesky dust bunnies, unexpected crashes to the floor, and that wear and tear drama. Aim to keep it away from humid hideouts or places that feel like Wisconsin winters or Death Valley summers as these conditions aren’t great for its inner workings. If you’ve got a keyboard cover hanging around, or can put it in a nice, clean spot, all the better! It’s like a little vacation for your keyboard.
Use of Wrist Rest
Typing like a pro for hours on end? Kudos to your dedication, but let’s talk about those wrists of yours. A comfy wrist rest can be a lifesaver—well, maybe not a lifesaver—but your hands will thank you. It keeps your wrists in just the right position, warding off those aches and potential injuries from all that typing. Pair one that fits your keyboard length for the best results, and you’ll notice the difference.
Throw in an ergonomic mat for good measure, and you’ll be living the dream. This mat works magic to cushion the blow your wrists take from typing, which in turn, eases wear on your beloved mechanical keyboard. Trust me, with these tips, you’ll enjoy typing like never before, and your keyboard will stick around for the long haul.
Switch Types Overview
When you’re messing around with mechanical keyboards, the switch type can really change up how you type and the noise it makes. Here’s the lowdown on the main types you’ll run into: Cherry MX, Gateron, and then there’s the spunky kid on the block, Kailh & Razer.
Cherry MX Switches
Kicking it all off in 1954, the folks at Cherry MX brought out their switch in 1983 and it’s been a fan favorite ever since. So much so, they’ve moved over 6 billion of these bad boys globally. Known for being the tough cookie in the switch world, they’re as sturdy as your Grandma’s old oak furniture. They’ll last you forever and fit just about anything—a win for the less adventurous among us. The only beef? They don’t have the wild variety in sounds and feels some might crave.
Gateron Switches
Now, step into the ring, Gateron. With a cool decade and a half under their belt, these switches are like the silky-smooth operators of the keyboard world. People dig them for their feel, price, and how easily they play with MX-style keycaps. If you’re looking for something that won’t break the bank but still gives you a solid keystroke, Gateron’s your guy. Many folks swap out their Cherry MXs for these because they offer a little more bang for your buck in terms of performance without gutting your wallet.
Kailh & Razer Switches
Moving on to Kailh, these guys burst onto the scene in 2005 and have been stirring the pot ever since. They take the basics from Cherry MX but inject some quirky personality into their switches like Box, Speed, and Pro versions—think better resistance to crud like water and dust, and speedier performance. They’re not just functional but also have a friendly price tag for what you get.
Then there’s those Razer switches. They’re all about being solid—firmly planted and boasting a long lifespan. But here’s the kicker: they’re exclusive. You want Razer switches? You gotta grab the whole Razer keyboard ride because they aren’t swappable like your regular MX switches. It’s a bit of a commitment, both financially and functionally, but for some, it’s totally worth it.
With all these choices, picking the switch that fits you like a trusty pair of shoes might seem a bit of a rollercoaster. Whether you’re after something that’s durable, silky-smooth, or allows for some hair-raising custom flair, there’s a switch out there that’s ready to answer your call in the noisy world of mechanical keyboards.


